Hollyhock Rust Treatment: How to Control Hollyhock Rust in Gardens If you’ve ever tried to grow hollyhocks [1] in a hot, humid climate, you’ve probably seen it – leaves with yellow spots on the top and reddish-brown pustules on the underside that indicate hollyhock rust. If so, we have a few things for you to try before you despair of ever successfully growing this beautiful cottage flower. Learn how to combat hollyhock rust in this article.
What is hollyhock rust?
Hollyhock rust is caused by the fungus Puccinia heterospora and is a disfiguring disease that infects members of the Alcea (hollyhock) family. It starts with yellow spots on the leaves with rusty pustules on the undersides.
Over time, the spots can coalesce and destroy large portions of the leaves, causing them to die and fall off. At this point, the stems may also develop spots. Although the plant may not die, you may want to put hollyhocks with rust fungus out of their misery because of the severe disfigurement.
Does hollyhock rust spread to other plants? Yes, it does! It only spreads to other members of the Alcea family, so most of your other garden plants are safe. There are mallow weeds that are members of the family that can act as a host reservoir for the disease, so it is best to keep weeds away from hollyhocks.
Treating hollyhocks with rust
Mallow rust disease occurs wherever you find hot, humid temperatures. This is particularly true in the Southeast, where these conditions persist for most of the summer. Below are some hollyhock rust treatments you can try. Remember that you will have more success if you use several of these strategies at the same time.
When you first notice rust spots, pick off the leaves and either burn them or seal them in a plastic bag and discard them.
Keep the soil around plants free of debris and keep garden weeds free.
Spread a thick layer of mulch under the plants to prevent last year’s spores from reappearing.
Water the soil rather than the leaves. If possible, use a trough hose to prevent soil from splashing onto the leaves. If you must use a stream of water, aim the stream at the ground and water early in the day so that leaves that get wet dry completely before sunset.
Provide plants with good air circulation. They look great growing against a wall, but air can’t circulate around them and moisture builds up.
Cut hollyhocks at the end of the season and burn or bury the debris.
Use fungicides if necessary. Chlorothalonil and sulfur are good choices. Apply every seven to 10 days, or more often if it rains.
Hollyhock In Winter: How To Winterize Hollyhock Plants
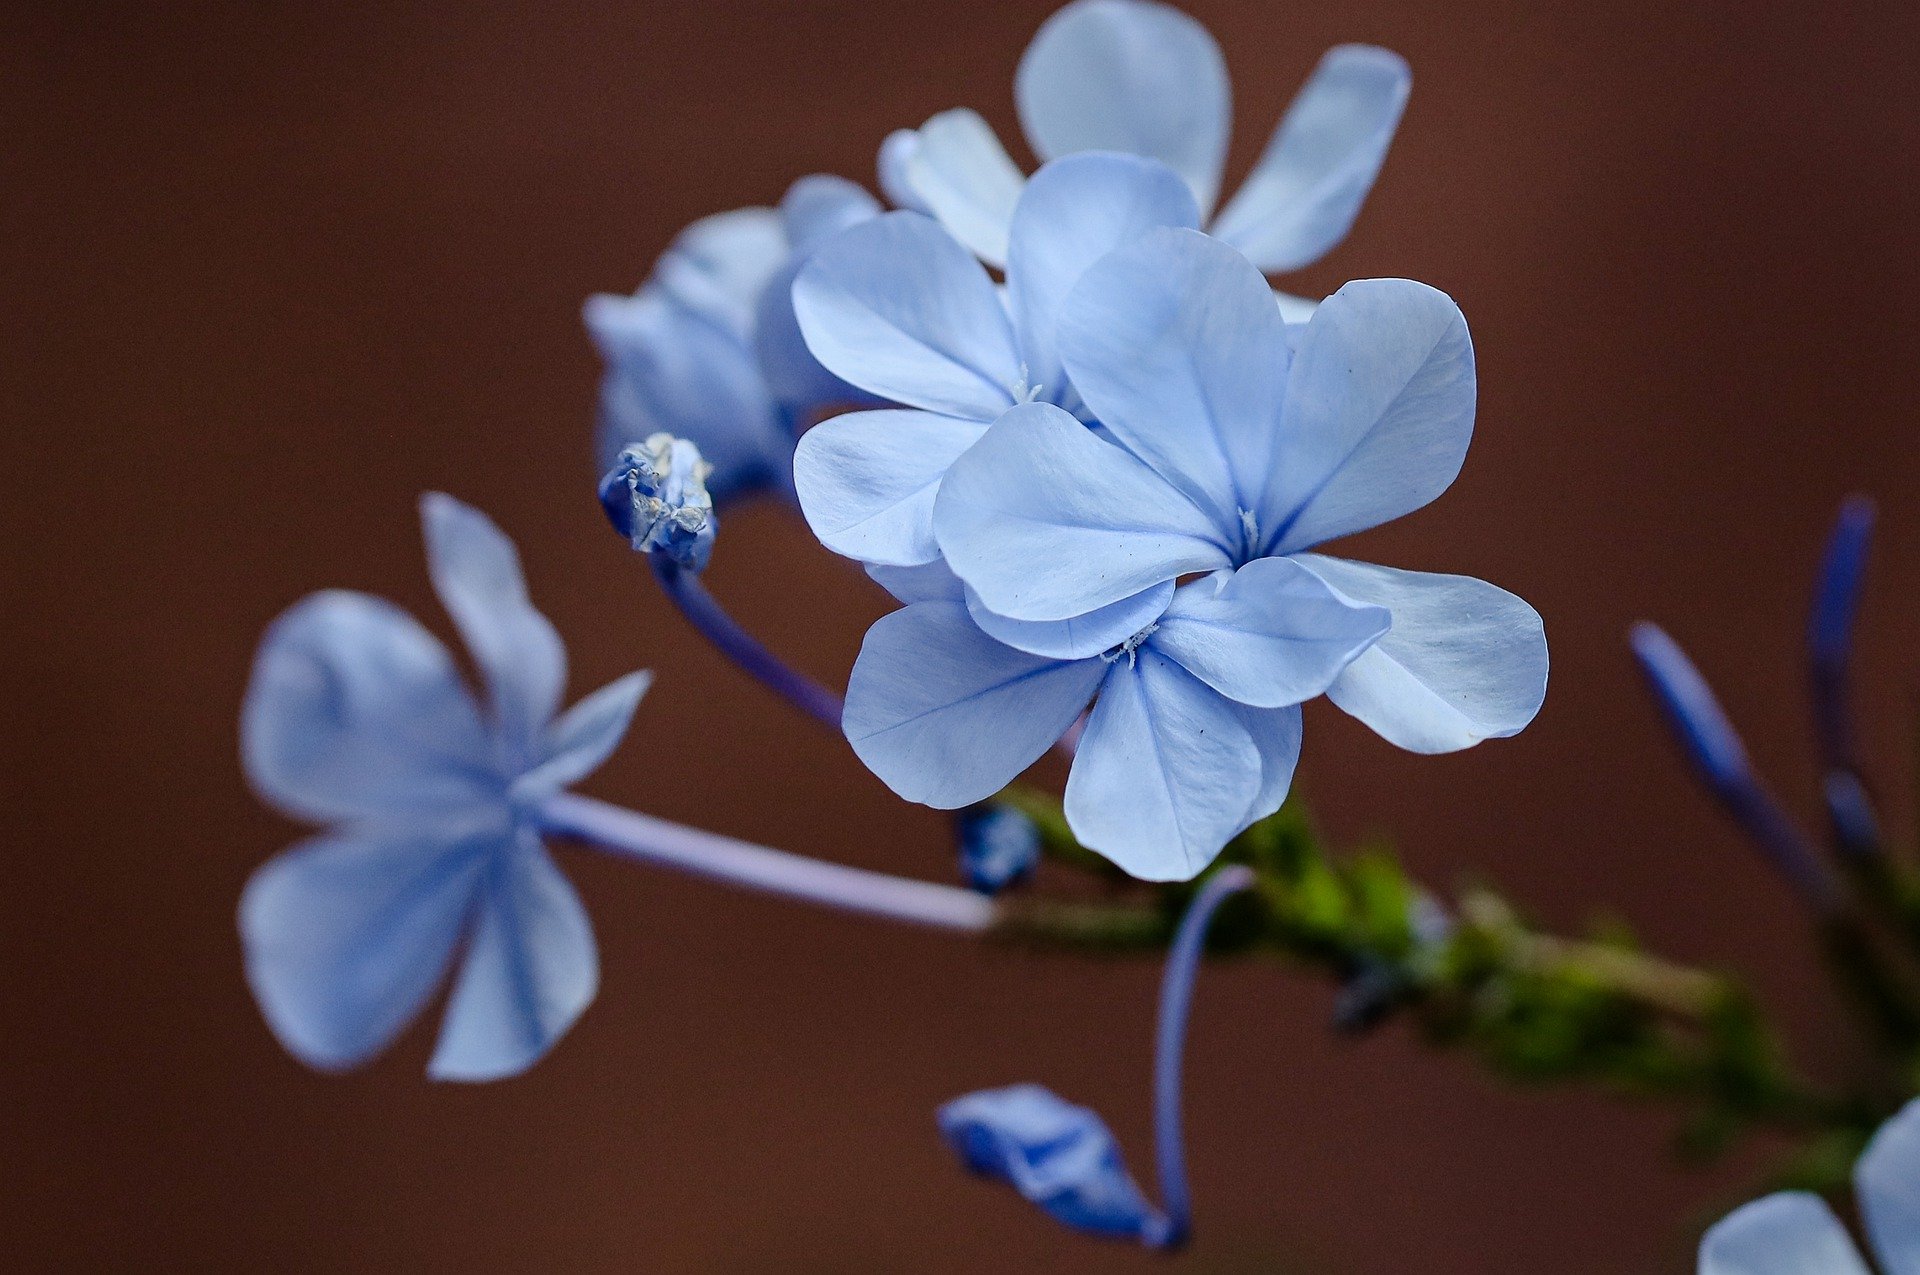
The cheerful tips of the mallow flowers [1] are unmistakable. The stems rise above the rosette of leaves and can grow as tall as a grown man. The plants are biennial and take two years from sowing to flowering. Hollyhocks die back in winter, but you still need to protect the roots to enjoy the impressive blooms in summer. Discover how to winterize hollyhocks in their first year so the plants can surprise you and attract butterflies and bees with their beautiful flowers.
Preparing hollyhocks for winter
Hollyhock plants self-seed easily, so once you have a nice batch, you have a lifelong supply. Hollyhocks begin as a low rosette of floppy, slightly fuzzy leaves. Growth is only vegetative in the first year, but in the second year the stem begins to form and the flowers appear just before the start of summer.
The huge stems feature numerous flared flowers that last for weeks. The plants are susceptible to rust diseases [2] , so cleaning is important when overwintering hollyhocks. Remove old stems and leaves and dispose of them before the new spring [3] to prevent the spread of spores.
Overwinter hollyhocks indoors
Most USDA plant hardiness zones [4] do not require you to do anything special for hollyhock winter care. However, zones with severe frost will need to either treat the plants as annuals or provide shelter for hollyhocks during the winter. In these areas, you can plant the seeds in containers and bring them indoors where temperatures stay above freezing.
Water sparingly until spring, then increase the amount of water and gradually move the plants back outdoors as temperatures warm. To do this, take the pot outside for longer and longer periods of time until it can stand all day and night.
Winterizing hollyhocks
A haircut is the first step in winterizing hollyhocks. Cut the leaves and stems back to 15cm above the ground in autumn. The hollyhocks then need a layer of organic material over the root zone to protect them from freezing. Use straw, compost, leaf litter or mulch. Place 4 to 6 inches (10-15 cm) above the base of the plant.
Begin gradually peeling off a layer in early spring to acclimate the roots to the changing season. Once you see new growth, remove all material to make room for the fresh leaves and stems to grow. Provide the new growth with granular food for flowering plants. Keep the mulch nearby in case you hear of a spring frost, and immediately cover the roots and shoots to prevent their loss. Remove the mulch when all danger of frost has passed.
Bare Root Hollyhock Plants: Tips For Planting Hollyhock Roots
Growing hollyhocks [1] in the sunny garden make a statement. Beautiful flowers can tower up to 2m tall and can be used as an old-fashioned focal point in a garden bed. Large flowers last a long time if planted correctly. Planting mallow roots is the best way to start this large and attractive flower.
About bare root mallow plants
Healthy bare root plants are not as susceptible to the dreaded rust disease as those grown in other ways. Hollyhocks grown from seed and those grown from cuttings often begin life in a weaker form and are more susceptible to developing rust disease [2] , a disease that plagues long-time hollyhock growers. Plants grown from seed may also not be faithful to the parent plant.
More than 60 species of bare root mallow plants are available. Hollyhock plants are biennials [3] or short-lived perennials. Some will not bloom until the second year after starting bare root plants, but you should see foliage growth in the first year. Most hollyhock plants belong to the Alcea species of the Malvaceae family.
How to Grow Bare Root Hollyhocks
Learning how to grow bare root hollyhocks is challenging for some. However, follow a few simple steps and you will have an abundance of the beautiful blooms of hollyhocks as well as other bare root plants.
There are a few things you should keep in mind when purchasing bare root plants. Buy firm, healthy roots without blemishes. Soft spots or mildew may indicate a diseased specimen. Bare-rooted plants should not be broken. If you purchased bare root plants with any of these problems, follow the instructions below before planting.
Planting hollyhock roots
Bare-root hollyhocks usually come in plastic packaging protected with peat moss [4] or sawdust. Remove the fleshy roots from the bag and lightly shake off the protective material. Cut off any damage from the roots, such as mold or breakage.
Bare-root hollyhocks often appear dried out, so soak them in a tub of water for 10 minutes to rejuvenate them. They can also be soaked overnight, but don’t leave them in the water long enough for them to become soft.
Plant mallow roots in a prepared hole in the correct location. The hole should be wider than the roots and deep enough to encourage the long taproot of bare root mallow plants to grow downward slightly. When planting, the taproot should point downwards. However, do not plant too deep, just a few centimeters (5 cm) below the soil.
Bare-rooted hollyhocks can be planted in a mound of loose soil in the center of the hole with another hole in the center for the taproot. The bud or crown of the bare-root hollyhock should point upward and be level with the surrounding soil.
Gently press the roots into the soil for good contact and cover with soil. After covering the bare root plant with soil, water it well and add a layer of mulch [5] . Bare-rooted hollyhocks should not dry out; They also shouldn’t sit in wet ground. If you are planting hollyhock roots in spring, cover them with a box or newspaper if spring days become unusually warm.
What are Hollyhock Weevils: Relieving Hollyhock Weevil Damage
Hollyhocks [1] ( Alcea rosea) add old-fashioned charm to the back of the garden border [2] or serve as a seasonal residential fence, creating a little more privacy in spring and summer. Although these plants are often extremely tough, a little hollyhock pest control will keep your bed filled with blooms for years.
What are hollyhock beetles?
Hollyhock beetles ( Apion longirostre ) are gray weevils with orange legs that are 1/8 to 1/4 inch (3-6 mm) long, including their distinctive proboscis, which is significantly longer in females than in males. Adult hollyhock beetles overwinter in the soil of infested hollyhock beds and emerge from hiding in the spring to feed and lay their eggs. The female chews a small hole in a flower bud before inserting a single egg, repeating this process many times.
The mallow weevil does not interfere with flower formation, but is enveloped by the mallow seed capsule during its development. Here the larvae feed and pupate, emerge as adults and fall into the ground from late summer to early autumn. Hollyhock beetles produce only one generation per year in most locations.
Hollyhock Weevil damage
Weevil pests on hollyhocks cause only minor visual damage by eating small holes in mallow leaves and flowers. However, they can seriously affect the overall lifespan of hollyhock stands. Larvae of hollyhock beetles develop in the seed pods of mallow, using embryonic seeds as food. When the seed pods are ripe, they are often empty, preventing hollyhocks from self-sowing. Because these plants are short-lived perennials at best and can take two years to produce flowers, mallow weevil larvae can seriously disrupt the life cycle of your hollyhock bed.
Control hollyhock beetles
Careful observation of adults and feeding damage in the spring will alert you to nocturnal visits from mallow weevils. You should carefully examine your plants with a flashlight after dark to determine the extent of your pest problem before deciding how to proceed. Hollyhock beetles can often be hand-picked from hollyhock leaves and buds and dropped into a bucket of soapy water to drown.
Safer insecticidal options are available if hollyhock beetles cling tightly to leaves or if there are so many of your plants feeding on them that hand picking becomes an insurmountable task. Spray insecticidal soap [3] directly on these pests; it will kill them on contact. If caught early in the season, you may be able to prevent them from laying eggs by checking every night and destroying the pests found until hollyhock beetles are no longer detected.
If your mallow seeds have not been spared from the mallow beetle’s efforts, you should destroy seed pods as soon as they become visible to destroy eggs, larvae and pupae. Although this will have serious implications for the next generation of hollyhocks, chances are good that many of the seeds have already been consumed. In the long run, removing a season’s worth of seeds can save your entire crop and keep the area friendly for future hollyhock plantings.